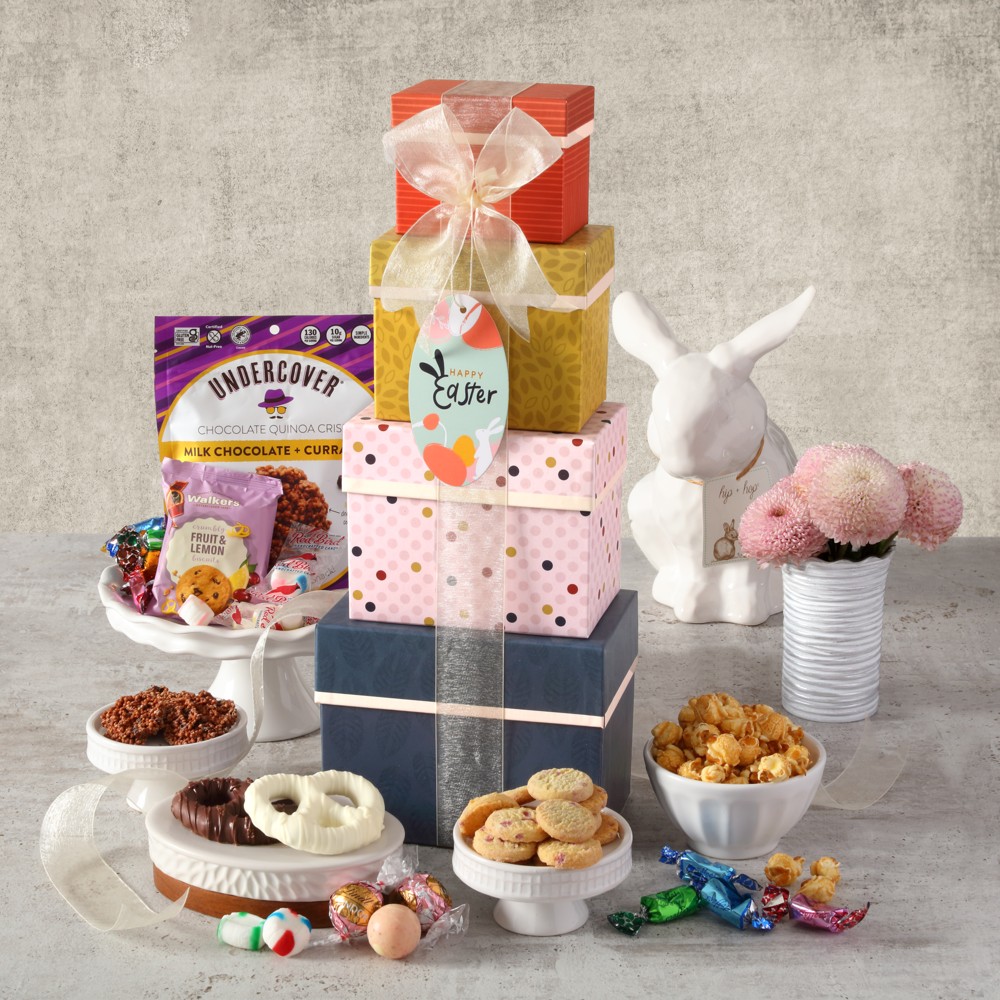
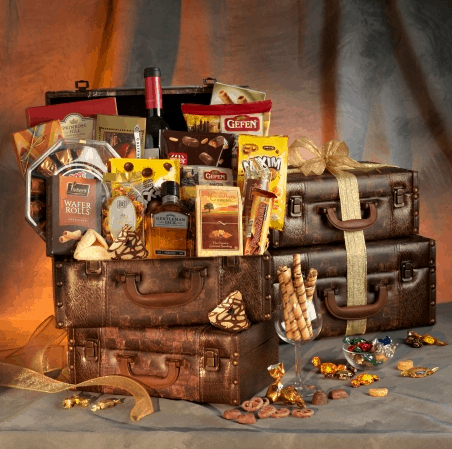
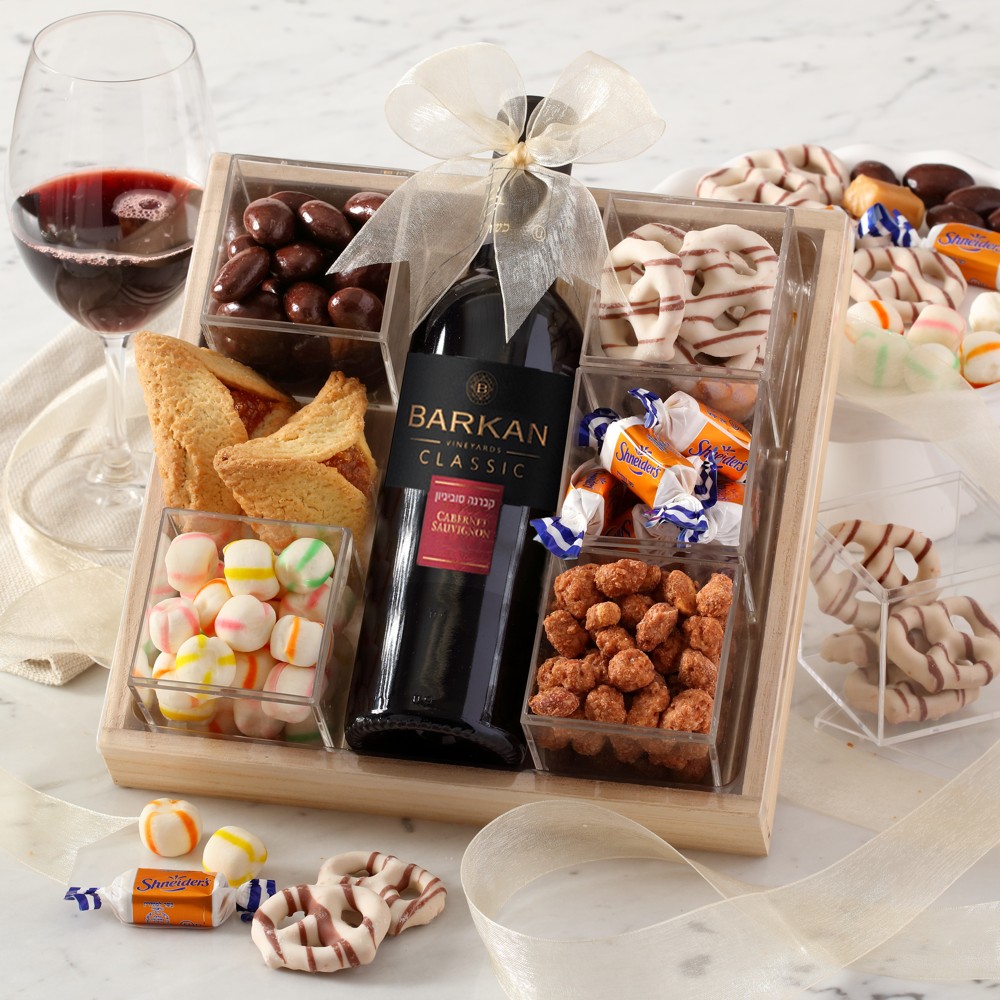
Gift baskets have long been the gold standard for every occasion and event. They can be designed to match every style and taste, and can be filled with all sorts of goodies. You can include a variety of different foods and snacks, or you can use treats that would only make sense to your intended recipient, if you wanted to go for that personal touch.
While there are any number of businesses that sell gift baskets, the homemade touch is always appreciated! Homemade gift baskets are great for holidays and as birthday gift baskets, and can also be fantastic additions to auctions and school or church events.
Here are 5 easy steps for making gift baskets that look professional:
1. Choose the Right Container
The base of your basket can set the theme for the rest of it. Of course, traditional baskets use, well, baskets. You can find these at any home decoration store for pretty cheap. For a less traditional route, you can instead use something like an old flower case, a plastic or wooden bowl, a beautiful box, or some other container. Get creative with it!
2. Shred Paper for the Bottom
The best way to fill on nooks and crannies in the bottom of the basket is to use shredded paper. You can use Easter grass to make it quick and easy. Or, you can use a shredder for glossy or regular paper. If you want to recycle, newspaper and old gift wrapping paper can put a personal touch in your basket. Of course, you don’t have to shred the paper, but it does make the basket look more professional.
3. Fill the Basket
Now’s the fun part: Fill the basket with whatever goodies you want! If your basket will be sitting out in the heat or otherwise in an environment that’s not climate-controlled, you’ll want to avoid using foods like chocolate or cheese, which can melt or go bad. The same goes for certain types of wine. If you are planning on giving a fresh fruit basket, be sure the fruit is at least a few days from ripe. The best professional baskets have some sort of theme, but that’s not always required.
4. Wrap It Up
Use cellophane to wrap up your basket and keep all the treats inside protected. Lay the cellophane on a flat surface, then place the basket in the middle. Make sure you have enough cellophane to gather nicely at the top before you cut it. Then, pull the cellophane up the sides of the basket, and gather it at the top. Tie it off with a twist tie or a rubber band before you move to the next step.
5. Tie It Off with a Bow
The final piece to make your basket complete is a bow or other topper. You can be creative with this one. For instance, if the basket is for a school event, you can use a bow and topper with the school’s colors and mascot. Or, you can find a baby rattle to top a basket for a baby shower. These little add-ons can really make a homemade gift basket pop!
Find a Gourmet Gift Basket for Your Next Event
While it’s always appreciated, you may not have the time (or creativity) to make a basket at home. Though these steps on how to make gift baskets are handy, we know it’s not for everyone. That’s why we offer professional gourmet gift baskets for every event and occasion. All of our baskets are 100% kosher, so you never have to worry about the recipient’s ethical, religious or cultural dietary restrictions. Shop our full line of gift baskets today!
 Gift baskets
 Gift trays
 Gift towers
 Bakery gifts
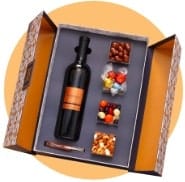 Wine gifts
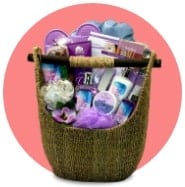 Spa gifts


